
Even working PSUs are ticking timebombs
Entry posted by CrossBow
165 views
Not a video to share this time, although in hindsight I should have made one as a quick tech video. But recently I decided I would get some replacement filter caps for use in standard wall wart power supplies like those used with our Atari, Sega, etc. consoles from back in the day. As I have quite a few of them on hand and wanted to test them out I decided to start with a few Sega Genesis power supplies. I decided to look at three different supplies last night. I first checked the voltages from all of them and they were all pretty normal. One reading about 14v, a model 2 supply reading 13.5, another model 1 reading about 13.8v. Nothing out of the ordinary from such old transformer supplies that don't have a load on them. Still, they are all well over 20 years old so I figured why not.
Now, many of the sega power supplies require a small 4mm hex bit to open them up and that was the case with one of the model 1 supplies I had. I didn't have this tool so I ordered it online. The other two I had actually required a small #5 security torx bit similar to what is used on TurboGrafx and PC engine systems. But that bit I had on hand and with that I was ready to crack them open and get to work.
The first model 1 PSU is one I've been using for a few years on my workbench as a go to PSU for several systems. I've created adapters so that I can use it with several other classic consoles I work on so I don't have to keep a bunch of different ones on hand at the ready. So it has gotten quite a bit of use over the past few years. It required the small 4mm hex bit I had to order. No issues once I got it opened up. Looked okay and had that ages electronics smell but nothing out of the ordinary. Removed the old large 3300µf at 16v capacitor. It seemed to be in good shape still with no evidence of bulging or leaking. Still it is over 20 years old and would hurt to change it out. Did that and working just dandy!
Then I looked at the second one and this one is where I first discovered that the 4mm hex nut driver I'd gotten wouldn't work and I needed to use my #5 security torx instead. Opened it up and it noticed it seemed to be glued shut as the two halves wouldn't separate as easily as the last one had. Interesting..worked on it a bit and was able to get it to come loose on one side. It was right about when I started to grab for a small flat blade screw driver help pry open along the sides that the smell hit me...
If you aren't aware, the old electrolyte used in these older caps smells very much like fish and has an oily consistency to it. And it is very distinctive and not at all like a normal electronics type smell. This wasn't a good sign as that smell would indicate that I was about to discover something nasty inside. Once I got the two halves of the PSU case apart, the smell really hit me and I could see it. A shiny surface on the top of the small PCB around some of the diodes on the PSU and where the output wires are soldered in. I removed the PSU assembly from the case housing and this is what it looked like on top.
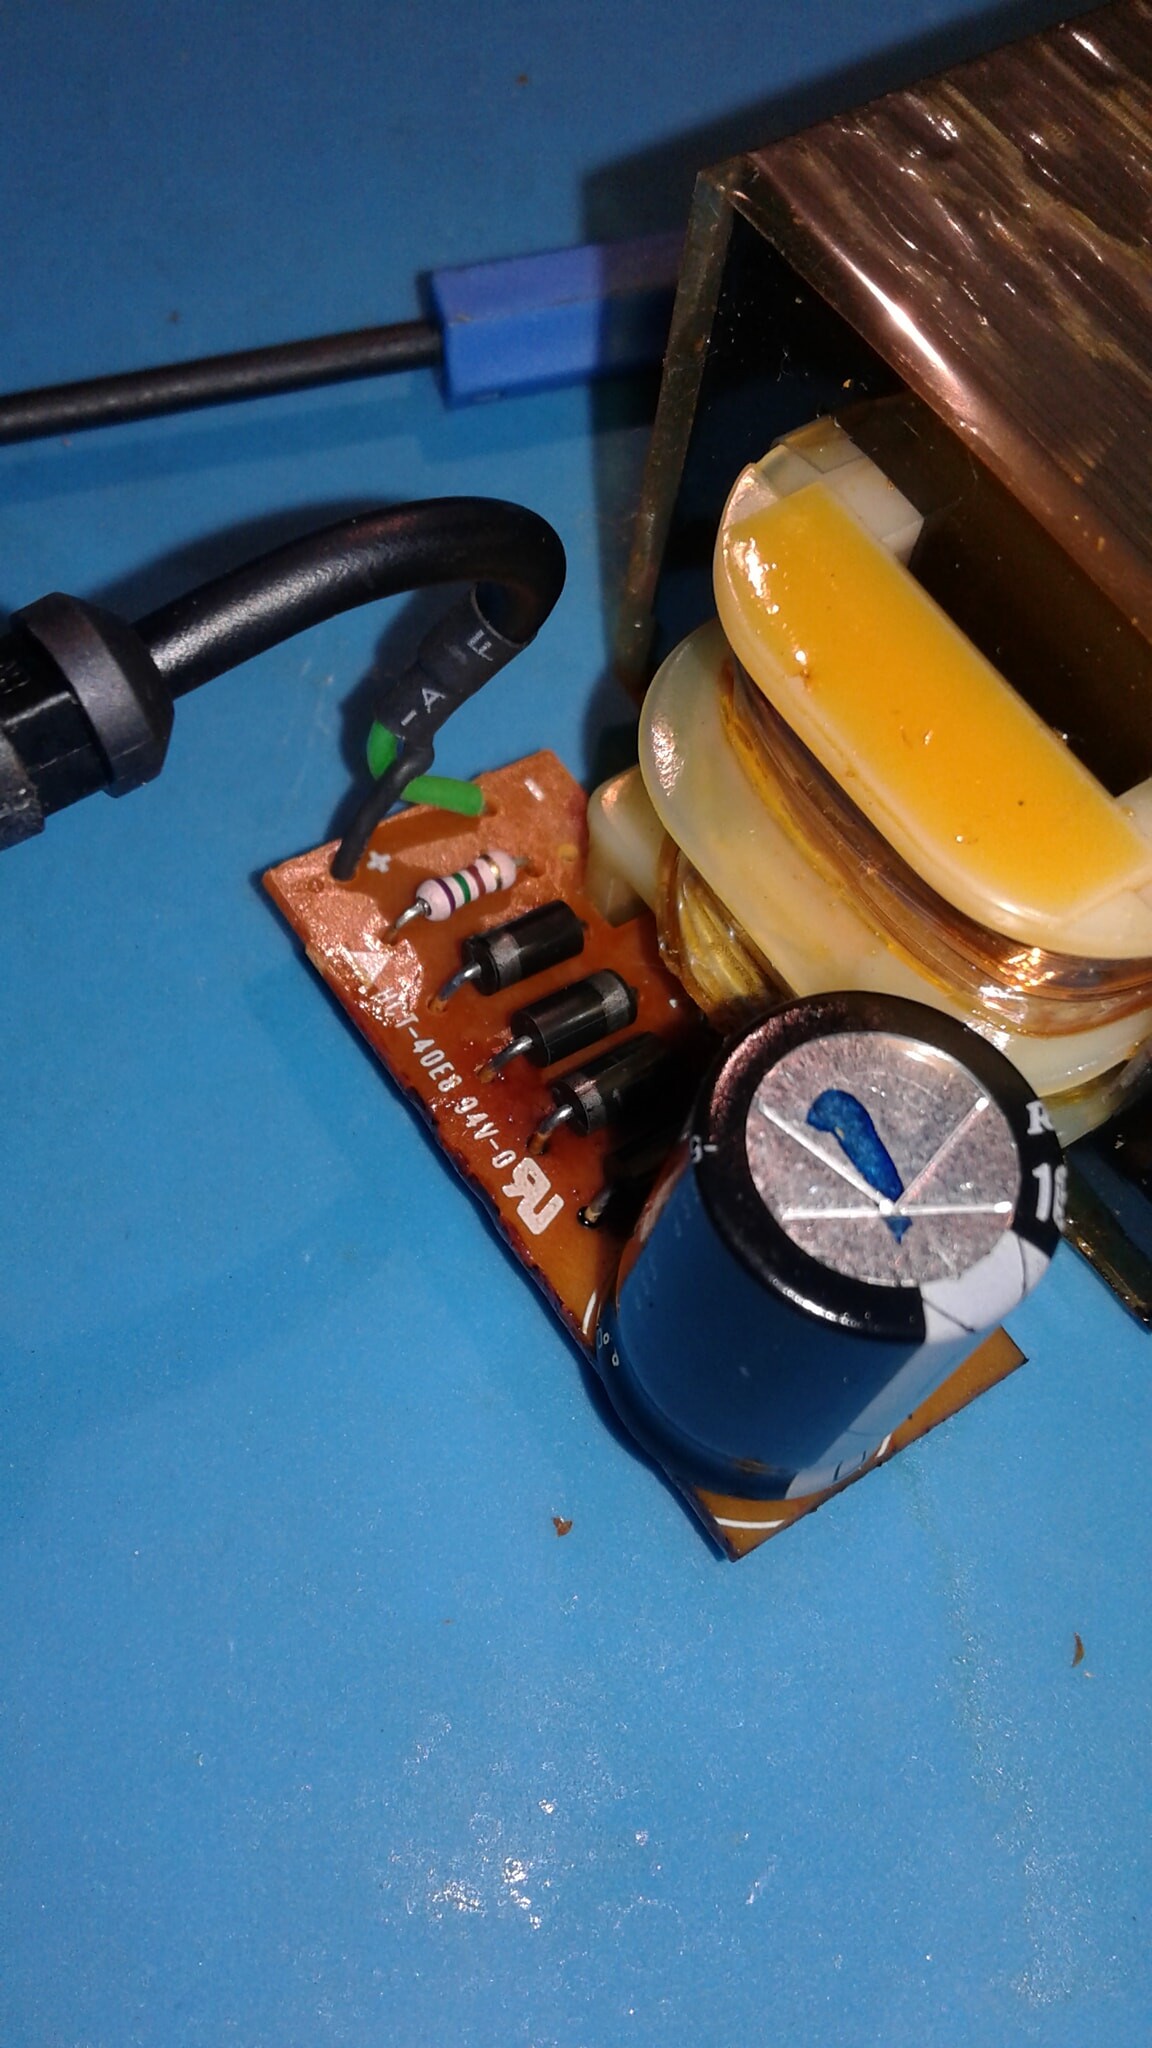
Now it is hard to see, but you can make out the shiny look on the PCB and also where it is a darker color. But the large filter cap looks okay physically right?
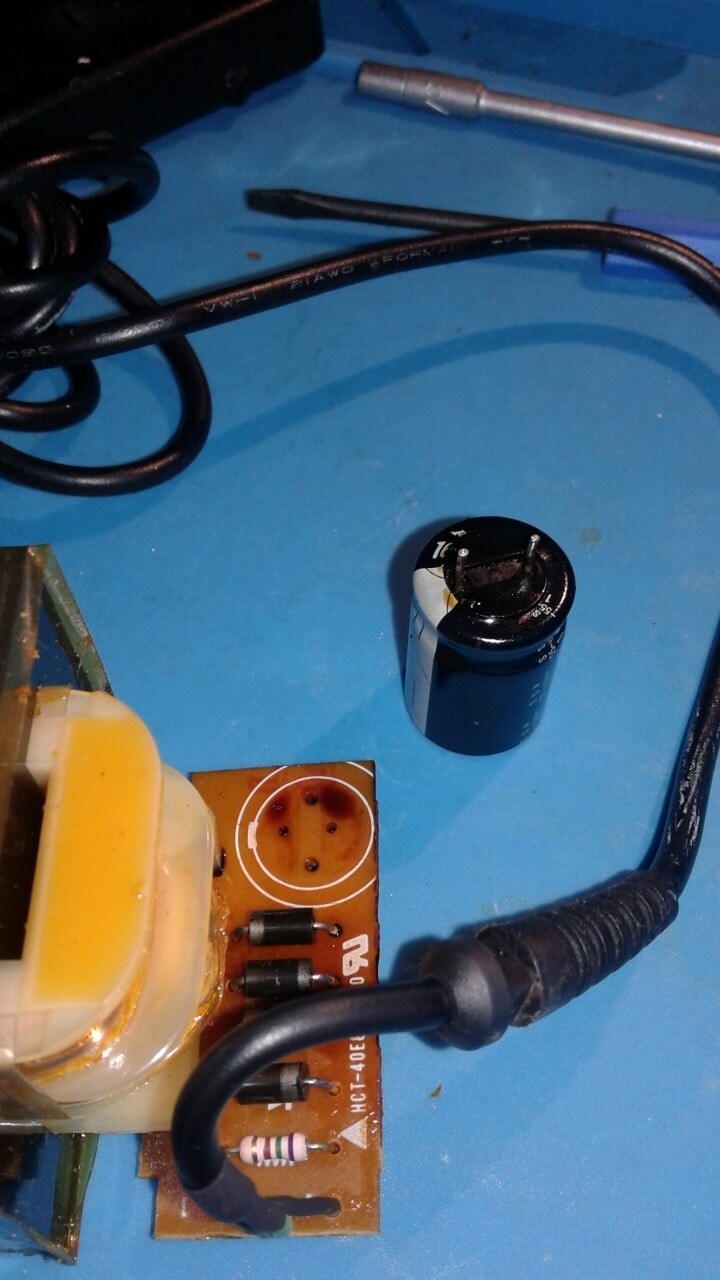
Well not quite because once I removed it you can see near the negative lead of the cap, where it has stained the PCB from electrolyte that has been leaking from the capacitor over the years. Also hard to make out but the bottom of the cap itself was also coated in the oily residue of the leaking electrolyte. Now this doesn't seem like a big deal right? Just clean that off and put in a new cap and your good to go? Well, the bottom side of the PCB where the traces are, has a very different story to tell and shows you the results of what leaking electrolyte does on a PCB over time.

Here you can see where there is a mottled almost moldy look the left half of the bottom of the PCB here. Well, that is where the cap was and where the electrolyte over time has seeped onto the bottom of the PCB and started to corrode the upper layers of the PCB masking and copper traces under neath. This is essentially cancer on a PCB slowly eating away at the board. If this had been something with much smaller traces to components, it would likely be a lost cause or at least require quite a bit of small and time consuming trace repair work. Luckily the traces on most PSUs like this are large and thick. So how do you clean this up? I took my electrical grade 99.9% alcohol cleaning solvent and a toothbrush and went to work to clean and neutralize the electrolyte. In the process of this, the top green layer coating started to flake off exposing the copper traces underneath it since the electrolyte had so badly ate into it. There were also dark patches on the copper itself underneath. This required me to also use my fiberglass pen to remove the remaining layer protecting the traces to fully expose them and also remove the corrosion. This is what it looked like after cleaning and removing most of the corrosion.

Still a few dark patches left behind that has pitted into the copper traces but it shouldn't get any worse than it is now since it is cleaned up. So what now? Well I installed the new replacement filter cap and the used lots of flux and solder to apply a new layer across the traces to protect the copper underneath going forward. This was following up by a lot more cleaning with both a PCB board spray cleaner and lots more high grade alcohol. I then left it out overnight exposed to fully dry out before testing and reassembly.

The third PSU was for a model 2 genesis and also required the #5torx security bit to open it. It was like the first PSU in that the capacitor in it wasn't leaking and everything appeared to be fine inside. Just replaced that cap the same way as the first, buttoned it back up and it works just fine.
But the moral of this is that just because a power supply works, doesn't mean that everything inside it is okay and good to go. That second PSU with the leaking cap would have eventually died on me as the traces would have continued to corrode and eventually sever from the rest of the circuit and possible start to lift from the PCB itself. This means that with this wonderful discovery, I need to now try and open up all other PSUs that I'm able to open up easily and inspect them for similar cleaning and possible repairs.
0 Comments
Recommended Comments
There are no comments to display.